How to create, assign and change status of an Issue?
- Log in with your Atlassian JIRA credentials.
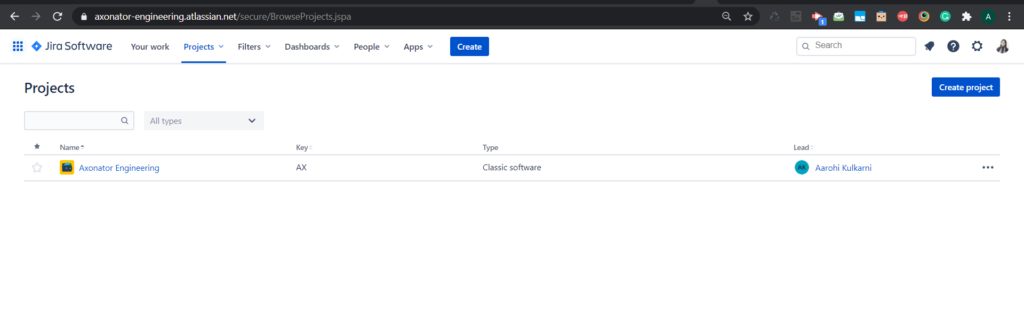
- Select your project. Refer to the screenshot below. Here it is “Axonator Engineering”.
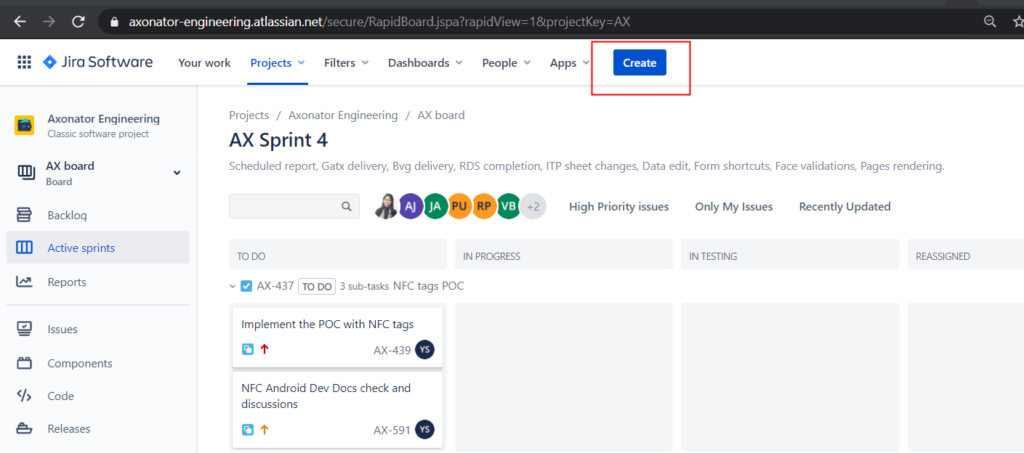
3. Click on the “Create” button in the blue color at the top.
4. You will see the modal for creating a bug/task/epic/story. Please refer to the below screenshot.
On this modal, there are few options to input the details of an Issue type.
Below are the fields with its description:
Project – Field shows the project name for which you are creating an issue.
Issue type – Field shows the type of an issue. For Example: Bug/Task.
Summary – Field contains a summary of an issue.
Description – Field contains the description of an issue.
Reporter – Field contains the name of the user who is creating an issue.
Priority – Field contains the priority of an issue.
Labels – Field shows the label of an issue. For example: If an issue is of Android, then you can select the label as “Android”.
Attachments – Field contains the attachments for that issue.
Linked Issues – Dropdown shows all the linked issues. When you want to link all the bugs to one task, you can link using this field.
There are many relations available in this dropdown. Once you select the relation, it will ask you to select an issue to link with it.
Assignee – Field shows to whom you want to assign an issue.
Sprint – Field shows to which sprint the current issue belongs to.
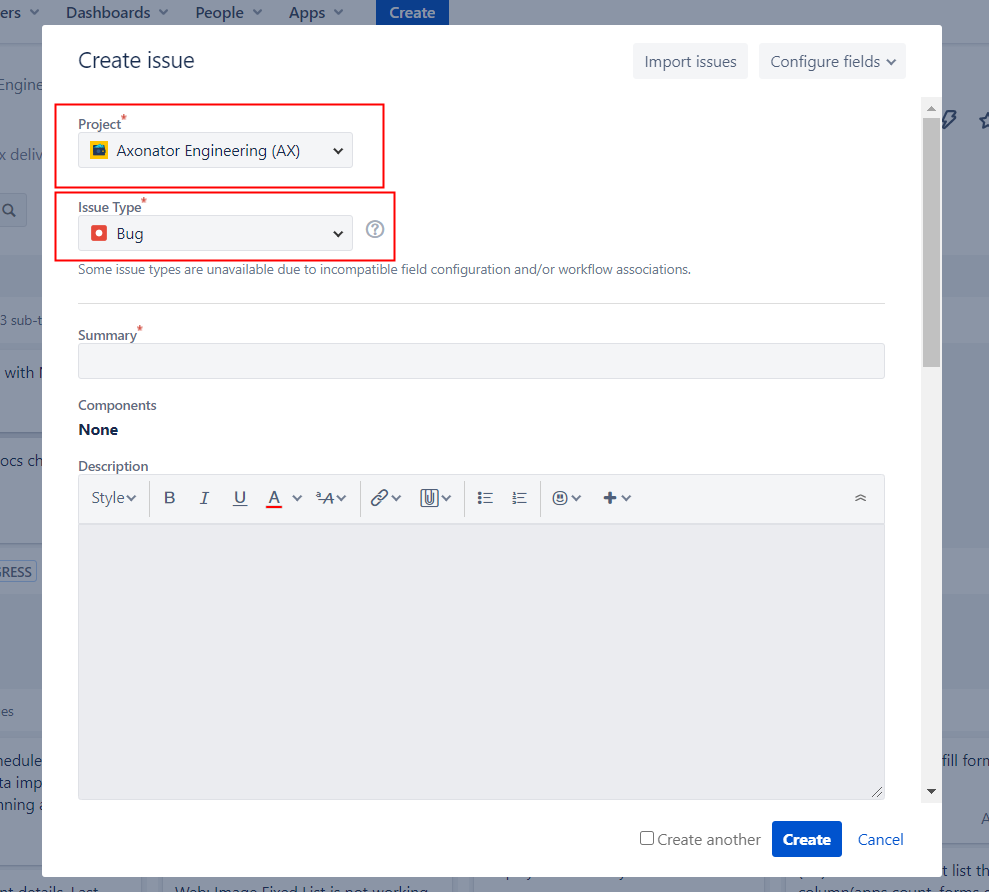
5. Click on “Create” button at the bottom of the modal to create an issue or click on “Cancel” button to discard the modal.
6. After clicking on create button, issue gets created and it will be shown in backlog list or on the board.
How to change the status of an issue?
- Select your project.
- Click on “Active sprints” option from the left option to see all sprint issues in the form of cards. Refer to the below screenshot.
- Click on “Issues” tab from the left menu to see all the issues. Refer to the screenshot below.
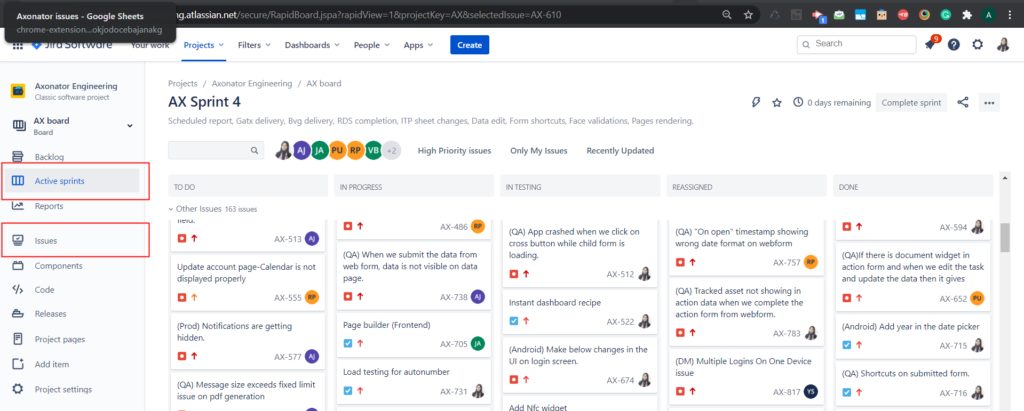
4. Click on the status drop down on the top left corner. It will show the next phase of an issue, select that to proceed to the further phases and close the modal OR you can simply drag the card from one phase to another phase on the board. Refer below screenshot and video.

How to assign an issue?
- Click on the created issue or click on the create button to create a new issue.
- Click on the assignee field, it will show you all users whom you can assign an issue.


0 Comments